If you are in a situation where you need to provide full AWS ReadOnlyAccess to your environment for a security audit, follow these simple instructions:
Login to AWS
Using the root account or an IAM privileged account login to AWS here: https://console.aws.amazon.com
Access IAM
Click on the Search box in the top-left hand corner and type in IAM. Select the IAM option in the menu.
Create an IAM User Group
-
On the left hand menu, select
User groups. -
On the top right hand part of the screen click on the blue
Create groupbutton. -
For
User group nametype inSecurityAuditReadOnlyAccess -
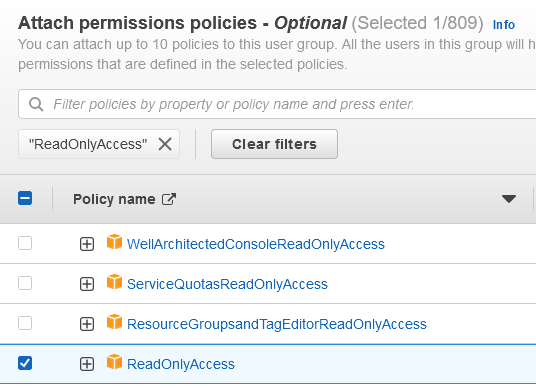
Under
Attach permissions policiesselectReadOnlyAccessTip: There are 800+ policies to sift through. Filter by "ReadOnlyAccess" and then sort the Policy Name column in descending order. "ReadOnlyAccess" should be close to the top.
-
Click on the blue
Create groupbutton on the bottom when finished.
Create a User
-
Back on the IAM screen, on the left hand menu, select
Users. -
On the top right hand part of the screen click on the blue
Add usersbutton. -
For the User name, type in the organization's name that is providing the security audit.
-
Check the box for
Enable console access -
Choose
autogenerated passwordfor the console password. -
Check the box for
Users must create a new password at next sign-in.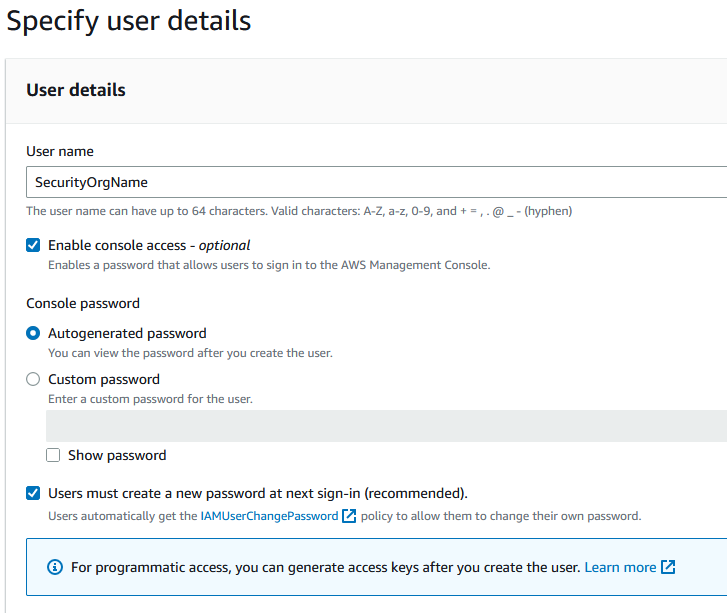
-
Click on the
Nextbutton on the bottom.
Set Permissions
-
Select
Add user to groupfrom the Permissions Options area. -
Check the box next to the group that was previously completed
SecurityAuditReadOnlyAccess.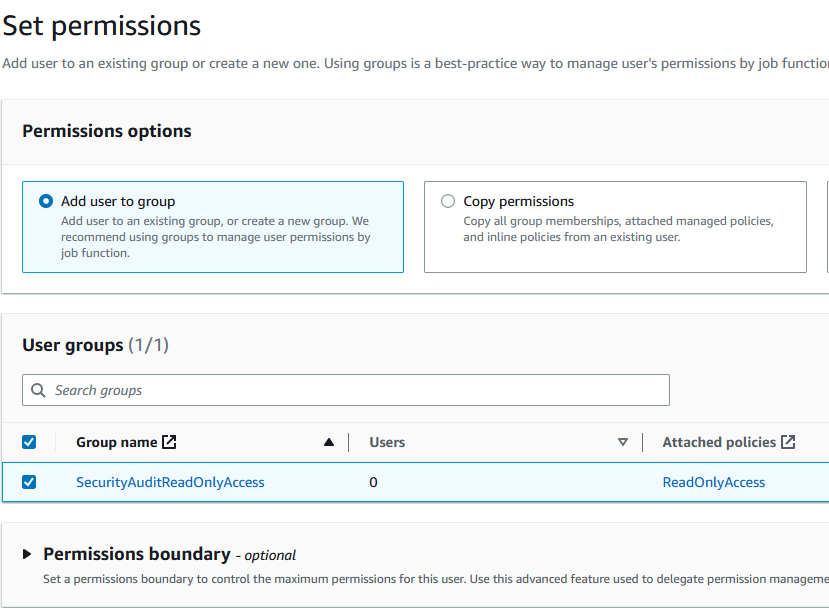
-
Click on the
Nextbutton on the bottom.
Review and Create
-
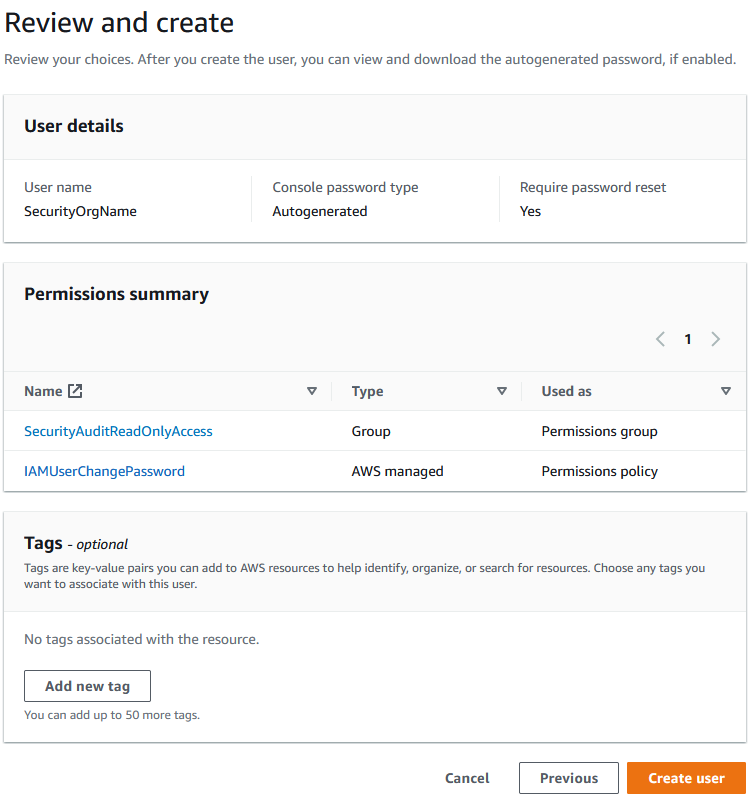
Your screen should look like this:
-
Click on the
Create userbutton. -
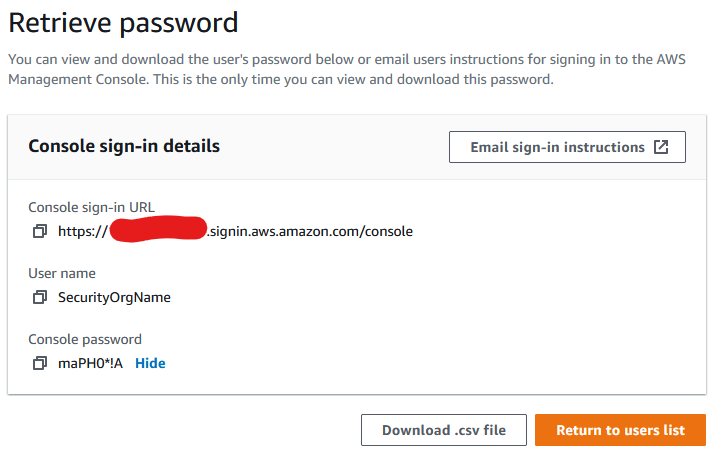
On the next screen, the credentials will be displayed.
-
Click on the
Showlink next toConsole password. -
Provide the information below to whomever requires the access.
Cleanup Afterwards
Once the security audit engagement is over, remember to delete the user that was created during this process.
